
Food Photo Tips for Tracking: Snap Meals Your App Can Read
Learn the lighting, angle, framing and scale habits that make a meal photo easy to identify, plus what to add when a photo alone can't show everything.
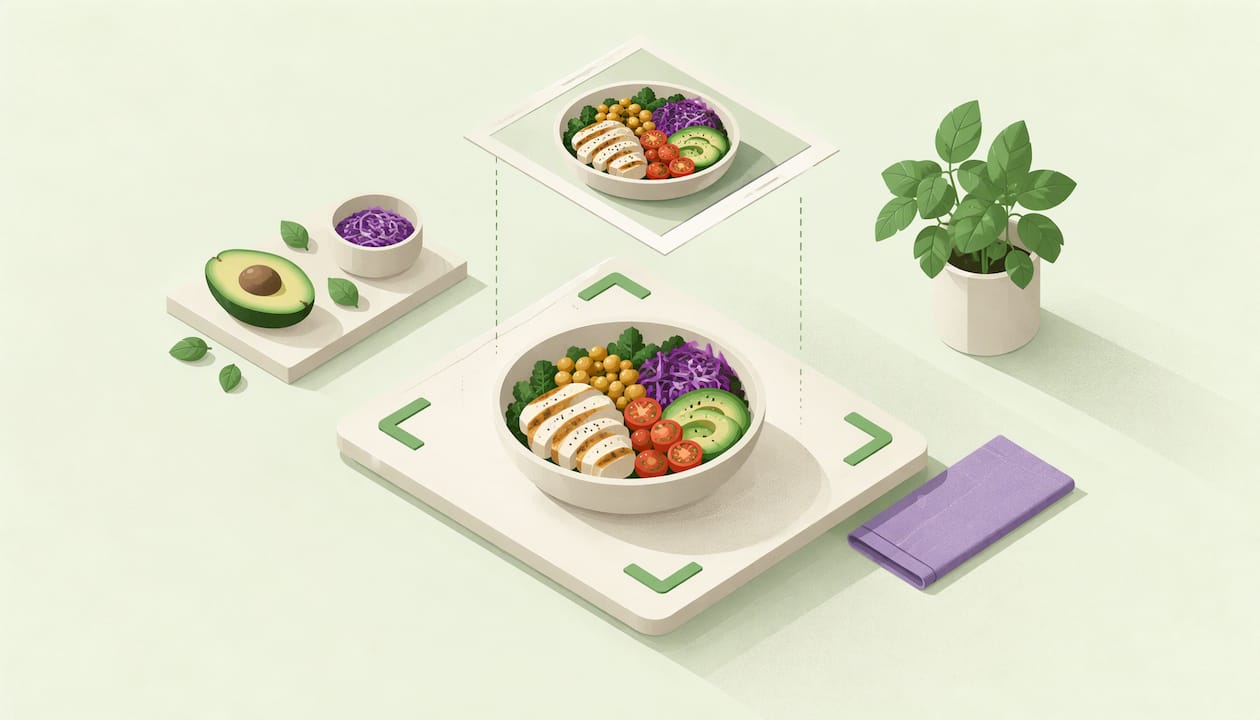
A good tracking photo is not a pretty photo. It is a clear one: soft light, a straight-down or 45-degree angle, the whole plate in the frame, every item visible, and something in the shot that shows size. Get those five things right and your app has far more to work with. Add a short note about anything the camera can’t see, like oil, sauce or dressing, and your log gets closer to what you actually ate.
Most food photography advice is written for bloggers and menus, where the goal is making food look delicious. You have a different goal: making food identifiable and measurable. The good news is that the two overlap more than you might think, and the habits take about five seconds per meal.
Cibo lets you log meals by photo, voice, text, barcode or manual entry, then track calories and macros against a personal goal.
Get the AppTL;DR
- Shoot in soft, indirect light, ideally near a window, and skip harsh sun and fluorescent glare.
- Go top-down for plates and bowls, and use a 45-degree angle for tall foods like burgers and sandwiches.
- Keep the whole dish in frame with a simple background, and add a fork or hand for scale.
- Pull mixed dishes apart where you can, and add a quick text or voice note for hidden extras such as oil, butter and sauces.
- A photo is a strong starting point, not a scale: pair it with a short description for the best accuracy.
Why a tracking photo is different from a pretty photo
A food stylist wants drama: shadows, steam, a close crop on the juiciest bite. A tracking photo wants the opposite. You want the app (or you, later) to be able to answer three questions at a glance: What is it? How much is there? What else is on or in it?
That shifts your priorities:
- Visibility beats style. Every food, drink, topping and sauce should be seen.
- Context beats close-ups. Extreme close-ups hide the size of the portion.
- Consistency beats perfection. Shooting the same way every time makes your log easier to compare from day to day.
The tips below borrow from the guidelines that delivery platforms give restaurants, because those platforms have the same problem you do: a customer must recognize the food from a single image.
Use soft, natural light
Lighting is the first thing to fix, and it costs nothing. Uber Eats advises using indirect natural sunlight from a window when possible, and avoiding very bright direct sun and fluorescent lighting. The reason is practical: harsh light blows out highlights on rice, bread or sauces and drops deep shadows into the corners of a bowl, so foods blend together.
Here is how that plays out in real life:
- At home: Move your plate to the table nearest a window before you sit down. Daylight from the side is ideal.
- At the office: Skip the overhead fluorescent tubes if you can. A spot by a window, or even a few steps to a brighter corner, helps.
- At a restaurant: Dim, warm lighting is hard on cameras. Ask for a window seat if you can, or tilt the plate slightly toward the light. Avoid using flash directly on the food, since it flattens color and creates glare on anything glossy.
- In the evening: Turn on the brightest even light you have rather than a single spotlight. Evenness matters more than brightness.
Research backs up why this matters. A peer-reviewed study in JMIR Formative Research found that lighting, camera angle, camera height and surrounding objects can all affect food-image recognition. In other words, a sharp photo can still fail if the conditions work against it.
Pick the right angle for the meal
There is no single best angle. The right one depends on the shape of the food.
| Meal type | Best angle | Why |
|---|---|---|
| Plates, bowls, salads, stir-fries, pasta | Top-down (about 90 degrees) | Shows every ingredient laid out |
| Burgers, sandwiches, wraps, layered foods | About 45 degrees from the side | Shows the layers and the height |
| Pizza, flatbreads, shared spreads | Top-down | Flat foods read best from above |
Uber Eats recommends a top-down view for plates or bowls and a 45-degree side angle for burgers, sandwiches or taller items, and notes that top-down shots let viewers clearly see the ingredients. That matches what most people find in practice.
Hold the camera steady and level
When you go top-down, hold the phone parallel to the table. If you tilt it, the near edge of the plate looks bigger than the far edge, and portion size gets distorted. A quick trick: line up the edge of your phone with the edge of the table and check that the plate looks round, not oval.
Choose one default and stick to it
If you only remember one habit, make it this: shoot top-down by default, and switch to 45 degrees only for tall foods. Fewer decisions means you will actually do it at lunch when you are hungry and in a hurry.
Frame the whole meal, and keep it simple
Two framing rules cover most of the problems.
Fill the frame with the food, but not too much. DoorDash guidance suggests the item should fill about 50 to 70 percent of the frame, on a simple, uncluttered background, with the meal as the clear subject. That gives enough detail to see the food, with enough margin to show the plate edge and a bit of context.
Avoid extreme close-ups. Uber Eats warns that extreme close-ups make ingredients and portion size difficult to judge. A tight shot of a beautiful bite tells you nothing about the other two cups of food on the plate.
A few small habits help:
- Clear away unrelated items: your keys, a second plate you are not eating from, a busy tablecloth pattern.
- Use a plain or lightly colored surface. A white plate on a dark wood table separates well.
- Keep your own shadow off the plate. Stand so that your body or phone is not blocking the light.
- Make sure the edge of the plate or bowl is in the frame. It anchors how much food is there.
Show portion size with a point of reference
The hardest thing for any camera is depth. A flat image of a mound of rice could be one cup or two. The simplest fix is to put something familiar in the shot. Otter’s photo guide suggests showing the whole dish with all its ingredients and including a utensil or other common item to give a sense of scale.
Good reference objects:
- A fork or spoon resting beside the plate.
- Your hand, held flat next to the food. If you already use palm-and-fist estimates, our guide to the hand portion method pairs naturally with this.
- A standard plate or bowl. If you always eat from the same dishes, the app and you both learn what a full one looks like.
- A drink can or bottle for shared tables where utensils vary.
The classic visual anchors work in your head too: a palm is roughly one protein serving, and a deck of cards is roughly 3 oz of cooked meat. Use them as a sanity check when you review a photo.
For a fruit example, a medium apple (182 g) comes to 95 calories, according to the USDA-based figures on our apple calories page. In a photo, a fist-sized apple next to a fork is easy to read. A cropped apple on a blank background is not.
Photograph mixed dishes and multi-item meals
Stews, curries, casseroles, burritos and grain bowls are the hardest to track from a picture, because most of what matters is hidden or blended. The research reflects that: the JMIR comparison study found that recognition of mixed dishes is incomplete even when one component is identified.
Here is how to give a photo the best chance with complex food.
Separate what you can
If you are plating the meal yourself, keep components in distinct zones: chicken here, rice there, vegetables on the side. A divided plate or a bowl built in sections reads far better than everything stirred together.
Take two shots when it helps
For a burrito, sandwich or burger, take one photo of the whole thing, then one after opening or cutting it to show the fillings. For a layered casserole, a cut slice with the cross-section showing is more useful than the top.
Include every item on the table
The sides count too. Bread basket, a handful of chips, the soda, the cream in your coffee. Pull them into one frame if you can, or photograph them as a quick second image. Otter’s guidance to include all ingredients and the whole dish works as a checklist for your own meals as well.
Name the unseen ingredients
For soups, sauces, curries and anything cooked in fat, add a short note: “cooked in 1 tbsp olive oil,” or “creamy sauce, about 2 spoonfuls.” Our walkthrough on estimating recipe calories with USDA data shows how to break down a home-cooked dish into parts when you want more precision.
Remember the extras: oil, sauces, drinks and toppings
The items most likely to go missing from a log are the ones that are hard to see. Think of this quick checklist:
- Cooking oil or butter
- Salad dressing, mayo and dips
- Cheese sprinkled on top
- Sugar or cream in coffee or tea
- Juice, soda, alcohol and smoothies
- Nuts, seeds and dried fruit on top of yogurt or oatmeal
If any of these apply, a one-line text or voice note beats hoping the camera spots them. It takes ten seconds and often accounts for a large share of a meal’s energy.
What a photo can and can’t tell you
Photo logging is a great shortcut, and it helps to know where its limits are so you can fill the gaps.
A 2025 study on image-based estimation of energy and macronutrients found that accuracy improves significantly when an image is paired with standardized non-visual descriptors or ingredient lists, rather than relying on visual identification alone. The takeaway is a friendly one: photo plus a few words is better than photo alone.
In practical terms:
- Photos are strong at recognizing the main foods on a plate and giving a first estimate of the portion.
- Photos are weaker at hidden fats, sugars in drinks, ingredients inside a wrap or sauce, and exact weights.
- Your input closes the gap. A note, a voice clip or a correction after the estimate makes the entry more precise.
That is why a good tracker lets you log by photo, voice, text, barcode or manual entry, and switch between them depending on the meal.
What to do when a photo doesn’t show enough
Sometimes the photo is already taken, the plate is gone, or the food is simply opaque. You can still get a solid entry.
- Add a short description. “Chicken burrito bowl with rice, black beans, cheese, sour cream” gives the estimate something to anchor to.
- Scan the barcode for packaged foods. The label has the exact numbers and the portion size, no guessing required.
- Set the portion in grams or standard servings if you know them, or compare with your hand or a familiar dish.
- Log the parts separately for a complex meal: the protein, the starch, the sauce, the drink.
- Use manual entry when it is the better tool. Our guide to manual food logging covers how to do it quickly and accurately.
- Look up a single food directly with our walkthrough on finding food calories fast using USDA data.
- Estimate honestly and move on. A reasonable entry you actually log is more useful than a perfect one you skip. If you want a method for days without a scale, see how to count calories without weighing food.
If you are tracking for a medical reason, such as diabetes or a food allergy, ask your doctor or a registered dietitian how precise you need to be, and which numbers to watch.
A five-second routine you can repeat at every meal
Habits stick when they are small. Try this sequence for two weeks:
- Move to the light. Window side if possible.
- Clear the frame. Plate, bowl and drink only.
- Pick the angle. Top-down by default, 45 degrees for tall food.
- Add scale. A fork, spoon or hand in the frame.
- Shoot before you eat. One photo, plus one more if you cut open the dish.
- Add a note for oil, sauce, dressing or anything hidden.
- Glance at the result and fix the one thing that looks off.
The point is not to be a perfectionist. It is to remove friction so you keep logging, because consistent logging is what makes your daily balance meaningful.
Photo tips for busy weeks and meal prep
If your weekdays are packed, the easiest way to make photo logging reliable is to cut the number of different meals you eat. When you prepare food in batches, you photograph and verify a meal once, then reuse that entry all week. A practical look at this approach is in this piece on meal planning for professionals, which centers on one planning session a week to reduce daily guesswork.
Some ways to make prep work with photos:
- Portion containers the same way each time, so the picture looks the same and the portion is consistent.
- Use clear containers or open the lid for the photo so the contents are visible.
- Photograph the plated or containerized meal once on prep day and save the entry for the rest of the week.
For people fitting nutrition around a demanding schedule, these nutrition for busy professionals ideas on short, scheduled prep sessions pair well with a quick-photo habit.
Our perspective: precision starts with the first tap
We think most people don’t quit tracking because they lack willpower. They quit because logging takes too long or feels like guesswork. That is why we built Cibo around the idea that one photo, voice note, text or barcode should get you to calories, protein, carbs and fat based on USDA FoodData Central, and then show your daily balance against your own goal.
Photo logging is the fastest on-ramp, and we believe it works best when you treat it as a conversation. You show the meal clearly, and you add the few details only you know. That combination is simpler than a spreadsheet-style macro tracker and more dependable than a photo-only approach, because you can switch to voice, text, barcode or manual entry whenever the picture isn’t enough.
Whether you want to lose around 10 kg at a steady, sensible pace or hit a protein target for the gym, the same rule holds: the log you keep is worth more than the perfect log you abandon. Good light, a clean frame and one line of context will carry you most of the way.
Orest Rodkin
Put these tips to work in Cibo
If you want to practice these habits with an app built around them, Cibo lets you log meals by photo, voice, text, barcode or manual entry, and see calories, protein, carbs and fat against your personal goal. Together mode lets you track side by side with a partner or friend, so you can encourage each other.
The app is on iOS and Android, with a 7-day trial, then subscription. Cibo Premium is $39.99 per year on iOS and Android, or monthly at $6.99 on iOS and $4.99 on Android. You can also see how tracking with a partner works before you start.
FAQ
What is the best angle for photographing food to track calories?
Use a top-down angle for plates, bowls and flat dishes, since it shows every ingredient. For burgers, sandwiches and other tall foods, a 45-degree side angle shows the layers and height. Both are the angles delivery platforms recommend for exactly these meal types.
Does lighting really affect how well an app recognizes my food?
Yes. Research on food-image recognition points to lighting, camera angle, camera height and surrounding objects as factors that change results. Soft, indirect window light is the easiest upgrade, while harsh sun and fluorescent lighting tend to hide detail.
How do I show portion size in a photo?
Include the whole dish and place a familiar object beside it, such as a fork, a spoon or your hand. Keep the camera level so the plate doesn’t look distorted. If you want to cross-check, compare what you see with a palm or fist estimate.
Should I still add a note if the photo looks clear?
If the meal includes oil, butter, dressing, sauce or a sweetened drink, yes. Studies suggest estimates improve when an image is paired with an ingredient list or short description. A one-line note takes seconds and fills the gaps a camera can’t see.
What if I forgot to take a photo before eating?
Log it by text or voice instead, listing the foods and rough amounts, or scan the barcode for packaged items. You can also snap a photo of what remains and describe the rest. Logging something reasonable beats skipping the entry.
Sources
- Restaurant menu photography guidelines, Uber Eats
- Common photo issues explained, DoorDash
- Menu Photo Guide, Otter Help Center
- Image-Based Dietary Energy and Macronutrients Estimation, Nutrients, 2025
- Use of Different Food Image Recognition Platforms, JMIR Formative Research, 2020
Recommended
Not medical advice. Cibo is a nutrition-awareness tool, not a medical device. Read the full disclaimer.
Build healthier habits with Cibo
Nutrition made simpler for everyday life.


